Your Cart
Cart is currently empty!

It seems one of the biggest trends in the modern world is finding ways to become more and more productive. Everyone’s looking for productivity hacks and strategies. In mixing, one of the best tips for being productive is having a seamless workflow. And a great workflow starts with having a well-prepared mix session. This way, you can concentrate on the music and focus on the emotion during the mixing process. So, let’s talk about how you can prepare your mix session to maximize your workflow.
You probably know the feeling: You’re working on a mix, and suddenly you need to find that one track that has this whistle sound on it. Now you go and spend a minute or so finding that track because your whole session is a mess and you can’t find anything. In the following paragraphs, you’ll find 7 easy steps you can follow to set up your mix before actually touching a single fader, so that you won’t have this issue (and many others) ever again. So, let’s jump right in. Here are your 7 steps to preparing your mix sessions.
In this step, you’re laying the very foundation that enables you to have a well-organized mix session. The first things you should always do are:
I can’t even count the number of times I’ve seen mixers scramble their sessions all over their hard drives and not being able to ever find them again. I highly recommend you create a folder structure that gives you instant access whenever you search for a session, even after years. My folders are structured like this:
Artist Name >> Song Name >> Different sessions that belong to the song (for example “Vocal recording”, “Production” or “Mix”)
Next thing is to make sure all mono tracks are actually mono. Some DAWs export everything as stereo, so that might have happened as well with the tracks your client has sent you. I’m using StereoMonoizer by Soundizers for this job. Another way would be to go through the session, listen to every track, determine if it actually has stereo information or not. If it hasn’t, then you’d split the track into 2 mono tracks, delete one and then pan the remaining one to the center. However, this approach can become pretty tedious with bigger sessions. That’s why I strongly recommend StereoMonoizer.

The reason why you want to have mono tracks actually appear in mono is to save your CPU. You can cut your CPU usage in half just by having all mono tracks actually be mono tracks.
The third item in step 1 is to find out the sample rate and bit rate of the tracks so you can then go on and prepare your mix session with the correct settings. And this leads us right into step 2!
Alright, now all your files are organized, you can go on and create the actual mix project. Open your DAW and create an empty project with the correct sample rate and bit rate (which you’ve found out in step 1).
Next, you want to set the tempo and key of the song. Oftentimes, your clients won’t deliver the tempo and key of the song. If that happens, you don’t necessarily want to go back to them and ask them. Instead, you can use simple apps on your phone to determine these parameters.
I’m using a basic metronome app on my phone (any free app will do!) to find out the tempo. I usually start the song (for example the client’s rough mix, or a steady rhythm track out of the single tracks), and then I just use the “tap tempo” function of the metronome app where I tap along the song for as long as I need until I have the tempo locked in.
For the key, it’s a little more difficult if you’re not proficient in music theory. Moreover, finding out the key is really only important if you have to use some kind of tuning plugin like AutoTune or Melodyne in the mix session. You can find the key of a song by using a free piano app on your phone. Play up and down the piano and find the notes that go with the song (i.e. those that don’t sound wrong). These notes indicate the key of the song. If you don’t know the connection between notes and keys, just give it a quick Google search and you’ll quickly have the key for your song. And with that, you’re one step closer to finishing your mix preparation.
Now the fun begins. You’re finally at the point where you fill your session with music! Go ahead and import all the tracks into the session and make sure you pull them all the way to the session start so you don’t accidentally introduce any timing issues.
Now, this is exactly the place where most (especially inexperienced) mix engineers end the journey. In order to properly prepare your mix session, you need to go some more steps though.
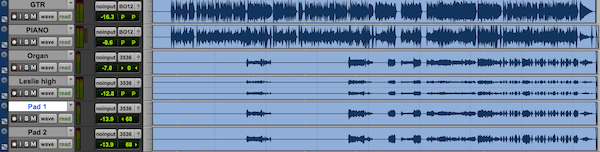
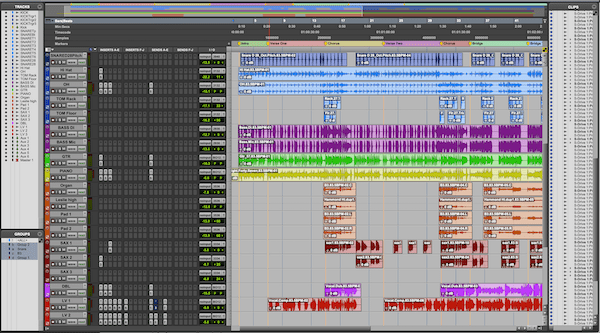
First thing you want to do after importing all the single tracks is properly naming all of them and putting them in order from top to bottom. If your client sent you a bunch of tracks named “Audio_01.wav”, “Dup.Rev_audio.wav” etc., go through the tracks, give them a listen and name them in a way that you immediately know what they are even when you’re hours into the mix. Examples for properly named tracks would be:
You get the idea. Once you have named the tracks, the next step in your mix preparation is to put them in order so groups of instruments go together and you don’t have to scroll up and down your session whenever you’re looking for the snare. My ordering system is this:
Every single one of my mix sessions are structured exactly this way. I might change the order of numbers 5 through 8, depending on which instruments clearly are the most important elements in the song. However, I never leave the general groups of instruments to make sure I always find everything I need in an instant. If you do just this one thing, you’re already better at preparing your mixes than most other engineers are. We’re not quite at the end though!
In this step, you’ll take the organization of your session even further. Specifically, there are 2 things to do in this step:
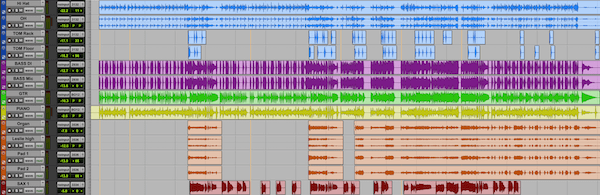
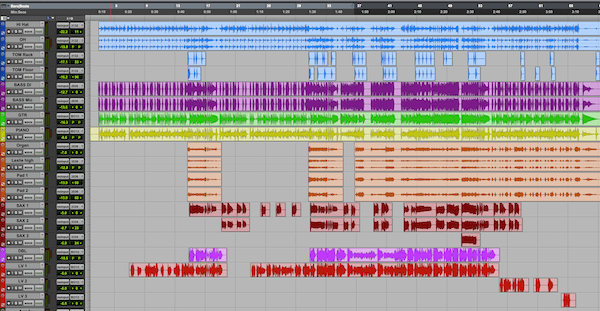
Remember how you’ve put all tracks together with similar elements in the last step? All drums to the top, vocals together etc. Now, you’re going to color all the tracks in one group in the same color. This way, when you quickly scroll your session, you’ll still be able to immediately find what you’re looking for, even in a session with 150 tracks. Here’s my coloring scheme in case you want to adopt it for yourself:
Once you’ve colored all your tracks, go ahead and strip silence the tracks. This step removes all the silent areas in your tracks. What that does is help you visually understand the structure of a song (for example “This looks like chorus 2”, “there’s the bridge between the last 2 choruses”. Now you can jump between sections and immediately know where you are without playing back the song and first find the part you’re looking for.
You’re approaching the finish line. At this point you might think it’s quite a long read already and that you don’t want to spend all this time preparing your mix sessions. However, once you get familiar with this process, it’s take you less than 10 minutes from top to bottom, and it will save you at least as much already within the first hour of your mix!
Having said that, now is the time to create FX busses and a master fader. I usually create 6 stereo AUX tracks that I can quickly fill with effects (like reverb or delay) when I need them in the session. I do the routing for the busses and just let them sit there until I need them. Depending on your DAW you need to also put them in “solo safe”. That way, when you solo a lead vocal (or any other element) that has a send effect on it, the effect will solo with it. Otherwise the effect would mute. This doesn’t need to be done in every DAW though.
In some DAWs (like Pro Tools), you also need to create a dedicated master fader. If your DAW calls for it, this is the moment to do it. You can put the 6 FX AUX tracks and the master fader at the bottom of your session, below the lead vocals (or whatever you choose to be your bottom element). Make sure
This one was a game changer for me. Most producers and mix engineers nowadays have extremely cluttered mix interfaces. Especially if you’ve learned mixing mainly through YouTube videos, this might be game changer for you too.
In this step, you will remove every aspect from your mix session that you don’t really need for the mix RIGHT NOW. Since I’ve been doing this, it drives me crazy when someone sends me a session where every single thing is open and turned on even if it’s not needed. Check out these two screenshots to see the difference in a Pro Tools session:
Do yourself a favor and remove everything you don’t immediately need for mixing. You need faders, inserts and the edit window to go from one section to another. Here’s a (non-exhaustive) list of things you DON’T need:
Remove all these elements from your session so you can really focus on the music and making decisions with your ears. Don’t give yourself more ways to be distracted from the process than you absolutely need to!
The last thing to do in order to properly prepare your mix session is importing rough mixes and reference mixes. Your client might have told you something like “I want this chorus to sound as big as the chorus in XY song”. In that case, get those reference songs (I usually buy them for $1.29 on Amazon) and import them to the session so you can compare your mix against the reference later in the process. You don’t want to interrupt your mix to go and find the reference song. Instead, have it already lined up during the mix preparation stage.
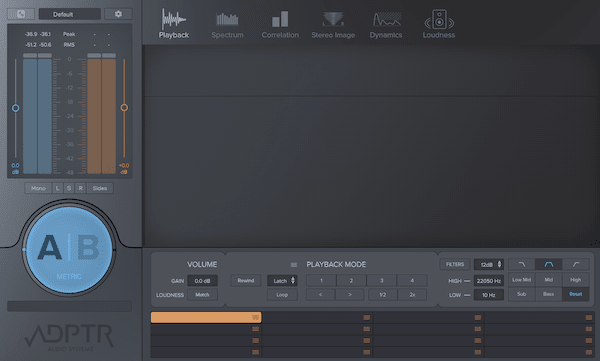
The same goes for the rough mix of the song that the client might have given you. Import all the reference songs you will need in the process, and you’re all set. I’m using the Plugin Alliance MetricAB for this task. It comes at a bit of a cost, but if you own their bundle or catch it in a sale, you might want to give it a try!
Now that you’ve made it this far through the article, you have a strong understanding of how you can prepare your mix session for your next project. Everything outlined here is exactly what I do in every single one of my mixes as well. Once you get some practice with this process, it’ll make your life so much easier! I certainly can’t live without a proper mix preparation anymore…
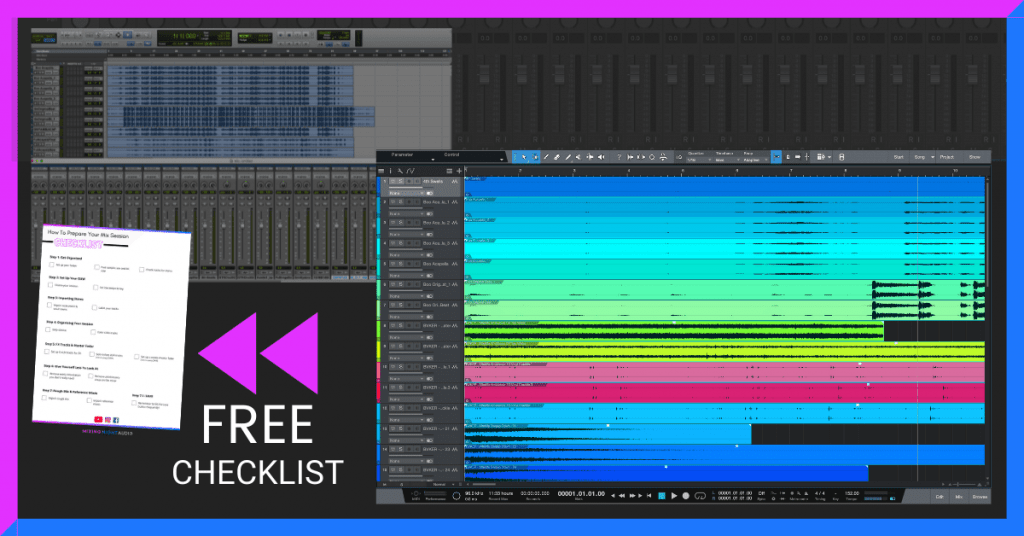
To help you even more, here’s a PDF checklist that you can print out and follow along every time you have to do a mix preparation. This PDF will be a handy guide until you’ve internalized all the steps. You can download it for free, no email required.
Check out the video below to let Ken Lewis take you through the process on screen so you can understand even better what the single steps are doing, and what you gain from simply preparing your mix session properly.

The internet offers incredible opportunity for you to constantly improve your mixing skills. Find out what you can do to effectively build your skills and find the best information out there!

Starting out as a young mixer is tough. The learning curve is steep, and especially in the beginning, it’s difficult to know where the finish line is. These 5 tips will help you decide if your mix is finished.

How do you effectively and musically remove harsh vocal frequencies from your tracks? Here are some tips for you that you can use in order to solve this problem and get better vocal mixes right away!
Please type in your new password (minimum 9 characters, at least 1 special character).
We’ll send you a code for the next step.